
Téchne Room Planner — How to Visualize Furniture
Complete Room Planner tutorial: how to add room dimensions, place furniture, and visualize in 3D before ordering.
What is the Téchne Room Planner
The Téchne Room Planner is a free visualization tool that lets you see how custom furniture looks in your room before placing an order. You don't need technical knowledge or design experience — the interface is intuitive and guided step by step.
Unlike a classic configurator that shows only the furniture piece in isolation, the Room Planner gives you the complete room context: walls, windows, doors, and all furniture pieces positioned exactly where they'll be installed.
Step 1 — Create the room
Enter dimensions
Open the Room Planner and start by defining the room shape. Enter the length and width in centimeters. If you have an irregular room (niches, corners, or beams), you can manually adjust the outline by adding extra points.
For precise measurements, check our detailed guide on how to measure the space correctly. Accuracy at this step directly impacts the quality of the final visualization.
Add fixed elements
Mark the positions of windows, doors, sockets, and radiators. These elements are essential to avoid surprises during installation — a wardrobe shouldn't block a socket or radiator. The Room Planner displays them visually to help you plan optimally.
Step 2 — Add furniture
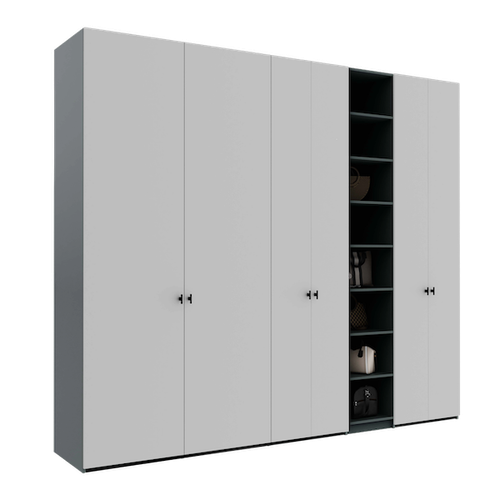
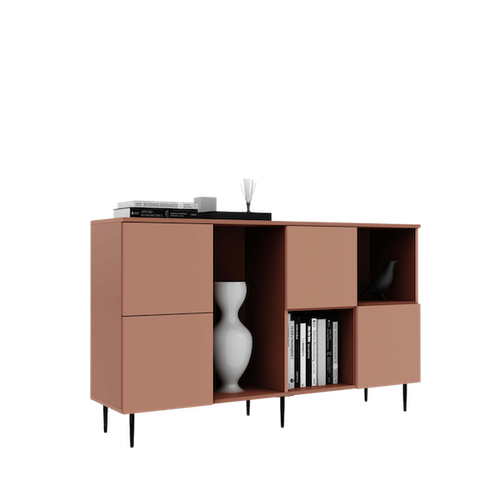
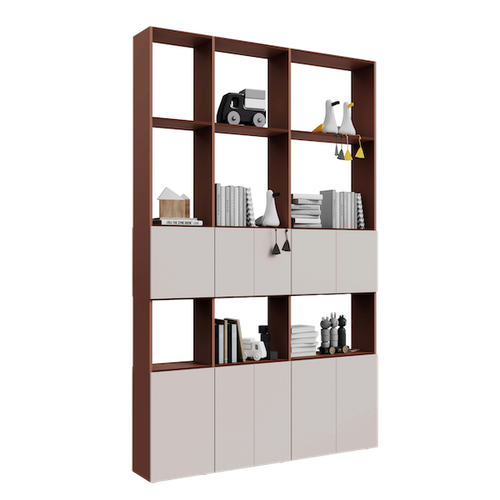
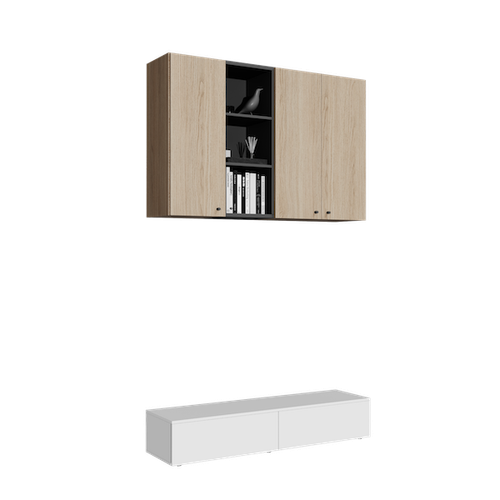
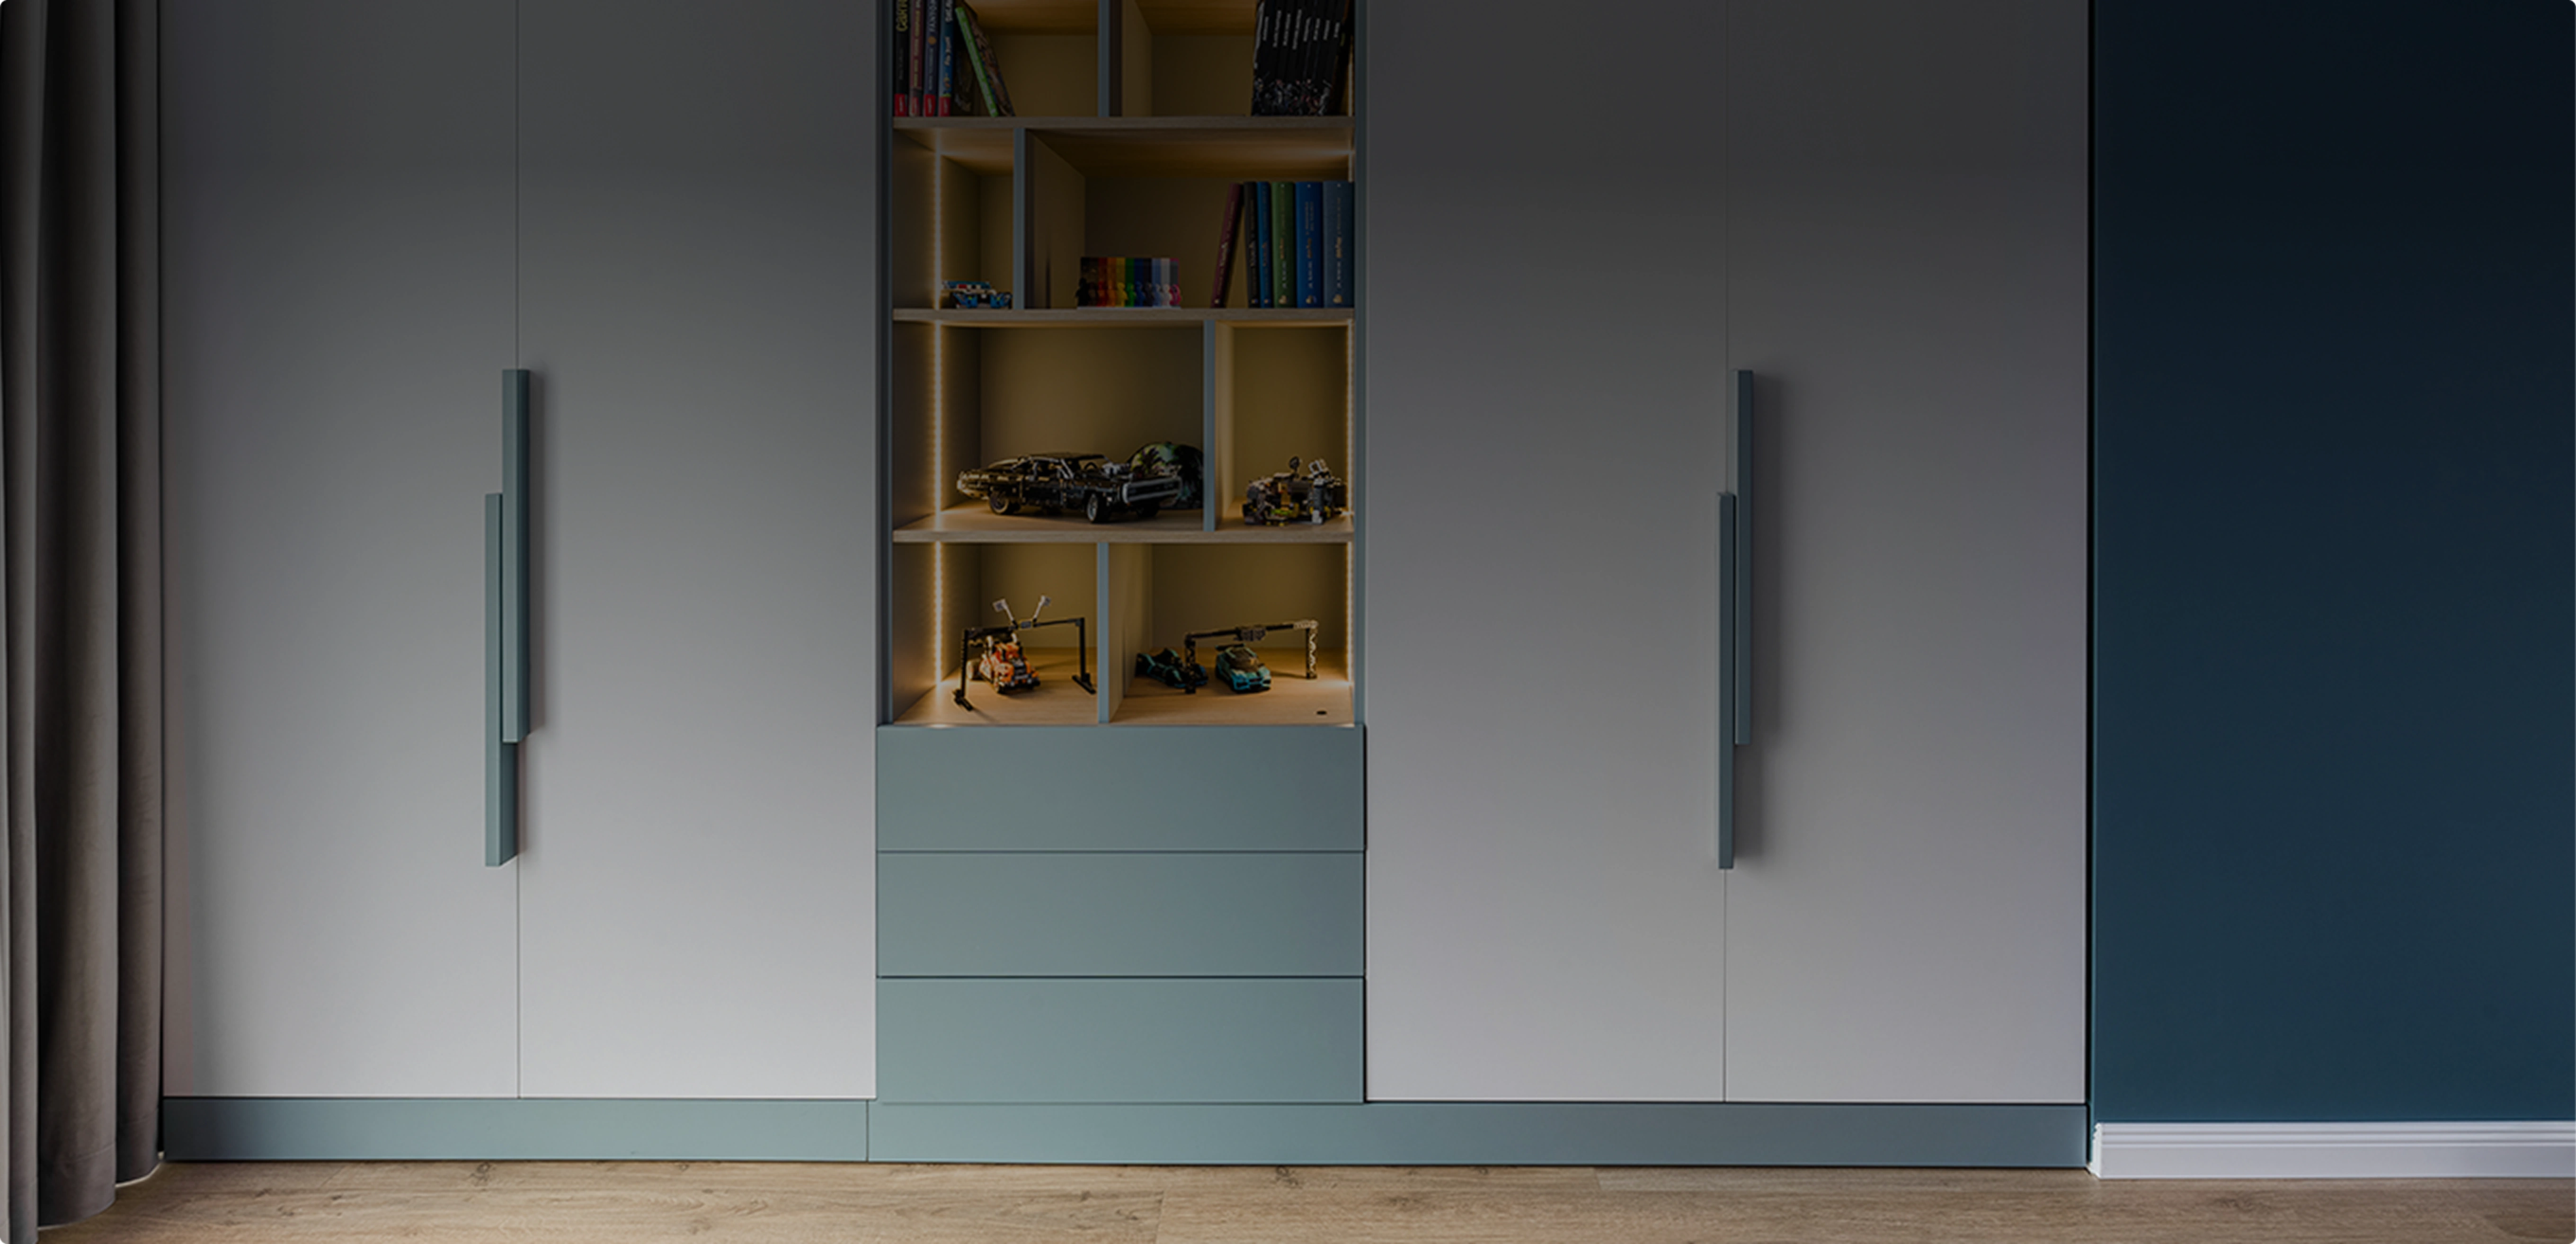
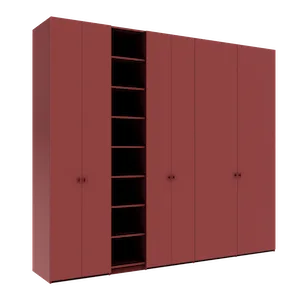
From the integrated catalog, choose the desired furniture pieces. You can add wardrobes, dressers, wall-mounted units, or room dividers. Each piece comes with preset dimensions that you can modify as needed.
Drag pieces onto the room plan and position them against the desired wall. The Room Planner automatically detects collisions — if a piece overlaps with another or a fixed element, you'll get a visual warning.
Step 3 — Customize each piece
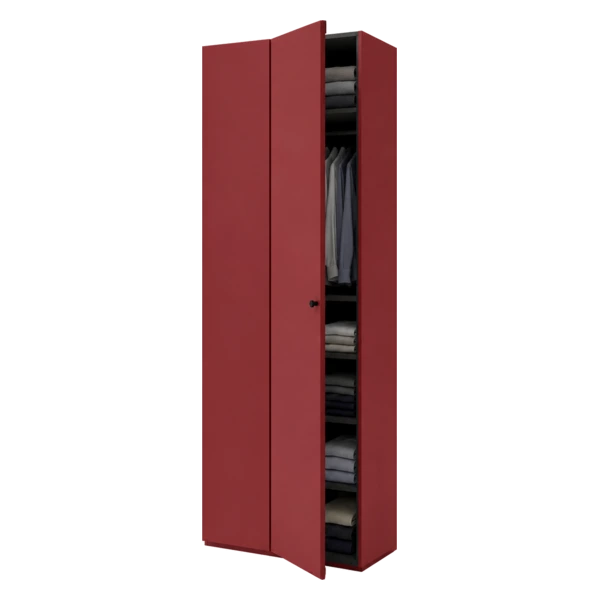
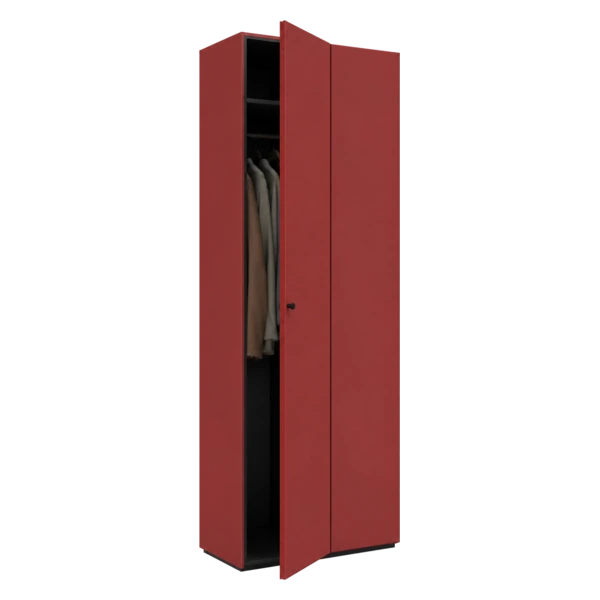
Click on any furniture piece to open the configuration panel. Here you can modify exact dimensions, door types, front colors, and interior organization. Essentially, you have access to all 3D configurator options directly within your room's context.
Experiment with different color and material combinations. Quickly switch between natural oak, matte white, or anthracite gray to see what best matches your room's walls and flooring.
Step 4 — 3D visualization
When you're satisfied with the arrangement, activate 3D visualization. You can rotate the room, change the viewing angle, and zoom in on details. This realistic perspective helps you evaluate proportions, colors, and circulation space.
The Augmented Reality (AR) feature goes one step further — it lets you project furniture directly into your real room through your phone's camera.
Step 5 — Save and order
Save your project to return anytime and make changes. When ready, you can generate a price calculation directly from the Room Planner or send the configuration to our team for a detailed consultation.
The Room Planner eliminates uncertainty from the buying process. See exactly what you'll get, at the exact dimensions of your room, before investing a single penny. Start now — it's free with no obligations, accessible directly from the Room Planner page.