How to Correctly Measure Space for a Wardrobe: Step-by-Step Guide
Learn how to correctly measure space for a custom wardrobe or closet. Practical guide with tips, common mistakes and recommended minimum dimensions.
Correctly measuring the space is the first and most important step when ordering custom furniture. An error of 1-2 cm can make the difference between a wardrobe that fits perfectly and one that doesn't fit or leaves unsightly gaps.
Tools You Need
- Tape measure (minimum 3 m) — the most accurate measuring instrument
- Spirit level — to check if walls and floor are straight
- Pencil and paper — write down each measurement immediately
- Phone with camera — photograph the space from multiple angles
Step 1: Measure the Width
Measure the width of the space at three points: bottom (at floor level), middle (at 1 m height) and top (at ceiling or where the upper part of the wardrobe will be). Walls are never perfectly straight — differences of 1-3 cm are normal.
Rule: Always use the smallest measurement as reference. The wardrobe must fit at the narrowest point.
Step 2: Measure the Height
Measure the height at three points: left, center and right. Differences can appear due to uneven flooring or uneven ceilings.
Tip: Leave at least 2-3 cm between the wardrobe and ceiling for installation. If you want a floor-to-ceiling wardrobe, measure precisely and mention this in the order.
Step 3: Measure the Depth
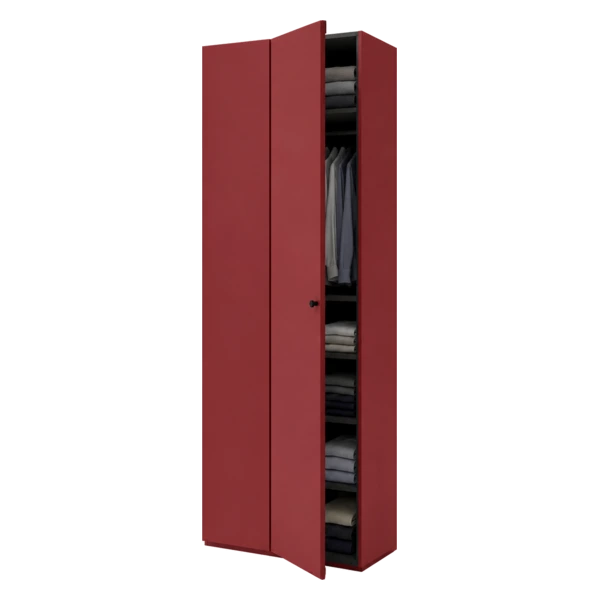
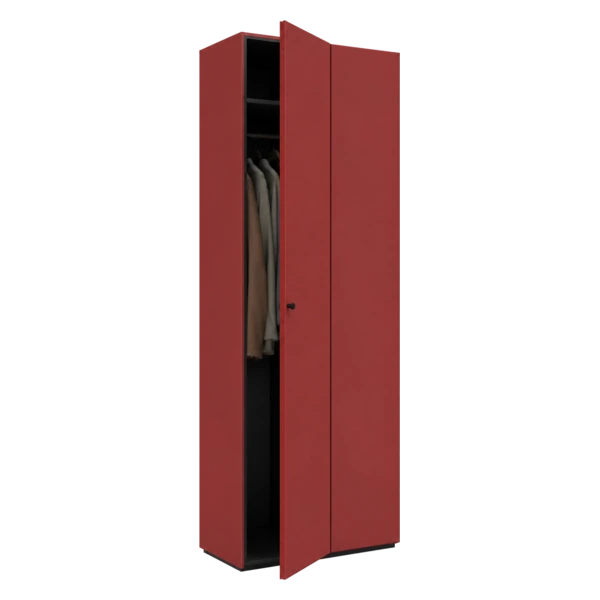
The standard depth for a wardrobe with a clothing rail is 60 cm. If the space only allows 50 cm, you can opt for clothing rails mounted perpendicular (from front to back).
Measure the available depth considering:
- Doors that need to open (for hinged doors, add 3-5 cm)
- Window sills or radiators that may limit depth
- Circulation space in front of the wardrobe (minimum 60 cm)
Step 4: Identify Obstacles
Check and note the exact position of:
- Power outlets and switches — the wardrobe must not cover them
- Water or gas pipes — require special cutouts
- Window sills — may limit height or depth
- Cornices or decorative profiles — on ceiling or walls
- Uneven floor — sloped flooring requires adjustment
Complete Tool List for Measuring
Before you begin, prepare all the necessary tools. A professional measurement requires:
- 5 m tape measure — preferably with a 25 mm blade (more rigid, doesn't bend during vertical measurements). A 3 m tape may be insufficient for room height
- 60-80 cm spirit level — for checking wall verticality and floor levelness. A short 20 cm level won't detect unevenness over longer distances
- Phone with camera — photograph the space from at least 4 angles: front, left, right and top (if possible). These photos help later when you configure your wardrobe online
- Notebook or notes app — write down EVERY measurement immediately. Don't rely on memory
- Carpenter's pencil — for wall markings (corner positions, obstacles)
- Painter's tape — extremely useful for marking the outline of the future wardrobe on the wall. Stick tape at the desired dimensions and visually check if the proportions are correct
Step-by-Step Measurement Process
Follow this systematic procedure to avoid errors:
Stage 1: Space Sketch
Draw a simple sketch of the wall or alcove where the wardrobe will be placed. It doesn't need to be to scale — it's just a support for noting dimensions. Mark on the sketch: walls, windows, doors, outlets, switches and any obstacles.
Stage 2: The 9-Point Measurement
For maximum precision, measure at 9 points — a 3x3 grid:
- Width: at floor level, at 1 m and below ceiling (3 measurements)
- Height: on the left, in the middle and on the right (3 measurements)
- Depth: on the left, in the middle and on the right (3 measurements)
Note all 9 values on your sketch. The smallest width and smallest height are your reference values — the wardrobe must fit at the minimum dimensions.
Stage 3: Spirit Level Check
Apply the spirit level to the floor, the left wall and the right wall. Note whether:
- The floor has a slope (in which direction and how many mm per meter)
- The walls are vertical or leaning
- The ceiling is level or has dips
This information is essential for the manufacturer — adjustable feet and leveling elements can compensate for unevenness of up to 2-3 cm.
Common Pitfalls and How to Avoid Them
Baseboards
Baseboards add 1-2 cm to the apparent width. If the wardrobe will be placed on a wall with baseboards, you have two options: (1) remove the baseboard in the wardrobe area or (2) subtract the baseboard thickness from the available width. The recommendation: remove the baseboard — the wardrobe will sit perfectly flush against the wall.
Electrical Outlets and Switches
Note the exact position of each outlet: distance from the left edge of the wall, distance from the floor, and the size of the outlet box. Options: (1) relocate the outlet (requires an electrician), (2) create a cutout in the back of the wardrobe, (3) leave the outlet accessible through an open compartment. The cleanest solution is relocating the outlet above or below the wardrobe.
Irregular Walls
In Romanian apartment buildings, walls frequently deviate 1-5 cm from vertical. If the difference between the width at floor level and at ceiling level exceeds 2 cm, inform the manufacturer. A correctly configured wardrobe will either have a side adjustment profile or be sized to the minimum width with decorative trim strips to cover the gap.
Uneven Floors
If the floor slopes, the wardrobe will visibly lean. The solution: adjustable feet (standard at Téchne) that compensate for differences of up to 2-3 cm. For larger unevenness, floor leveling before installation is recommended.
Beams and Pipes
Concrete ceiling beams or water/gas pipes require special cutouts. Measure the exact position of the beam: distance from the wall, width and depth of the beam. Pass this information to the manufacturer — the wardrobe will be designed with a cutout that follows the beam contour.
For water or gas pipes crossing the wardrobe area, measure the pipe diameter and exact position. The manufacturer will create a hole or cutout in the corresponding panel.
Measurement Template
Use this format to note your dimensions:
- Width at floor: ___ cm
- Width at 1m: ___ cm
- Width at ceiling: ___ cm
- Height left: ___ cm
- Height center: ___ cm
- Height right: ___ cm
- Depth left: ___ cm
- Depth center: ___ cm
- Depth right: ___ cm
- Floor level: Yes / No (if no, difference: ___ mm)
- Outlets: ___ pcs, position: ___
- Obstacles: ___
Fill in this template and enter the minimum dimensions into the Téchne configurator to instantly see how your wardrobe will look.
Recommended Minimum Dimensions
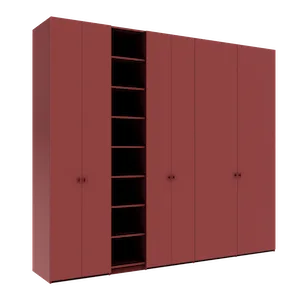
- Bedroom wardrobe: width min 150 cm, height 200-260 cm, depth 55-60 cm
- Hallway wardrobe: width min 80 cm, depth 40-55 cm
- Walk-in closet: minimum space 200 x 150 cm (for two sides with wardrobe)
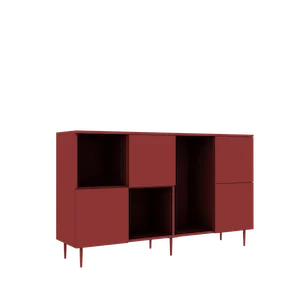
- Sideboard: width min 60 cm, depth 35-45 cm, height 80-100 cm
Common Mistakes
- Measuring at a single point — walls aren't straight, measure at 3 points
- Forgetting window sills — the wardrobe won't close if the sill is in the way
- Ignoring power outlets — move outlets or adapt the wardrobe
- Measuring with unfinished floor — if renovating, measure with the final flooring
Once you have the correct measurements, you can enter the dimensions directly in the configurator and see how your furniture will look in the actual space. The configurator protects you from errors: if you enter a dimension that exceeds structural limits or isn't feasible, you get an instant alert.
Enter dimensions in the configurator After finalization, the Téchne team manually checks the order before production — a second human verification that eliminates any risk.