
How to Plan Your Room with the Téchne Room Planner
Step-by-step guide: how to use the Téchne Room Planner to visualize custom furniture in your room before ordering.
What is the Room Planner and why you need it
When ordering custom furniture, the biggest challenge is imagining how everything will look in your actual room. The Téchne Room Planner solves exactly this problem: it's a free, interactive 3D editor that lets you create a virtual replica of your room and place configured furniture exactly where it will be installed.
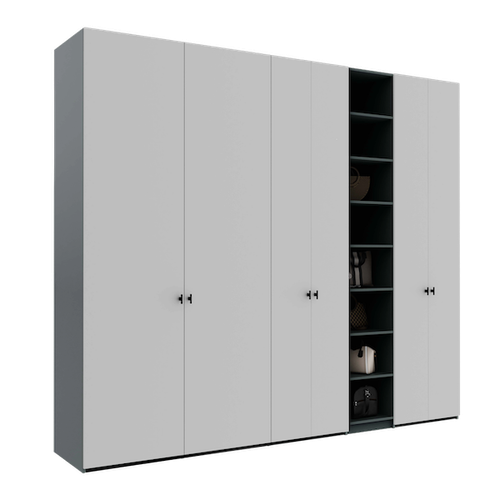
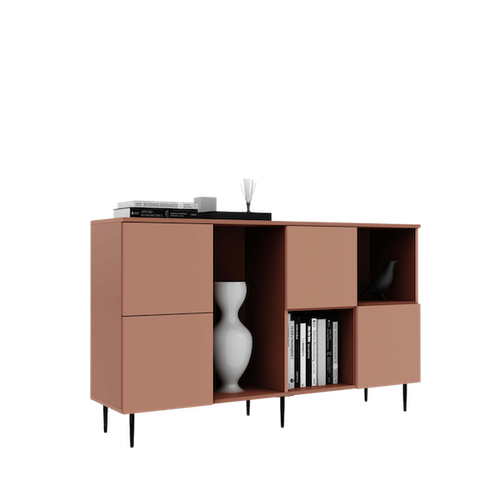
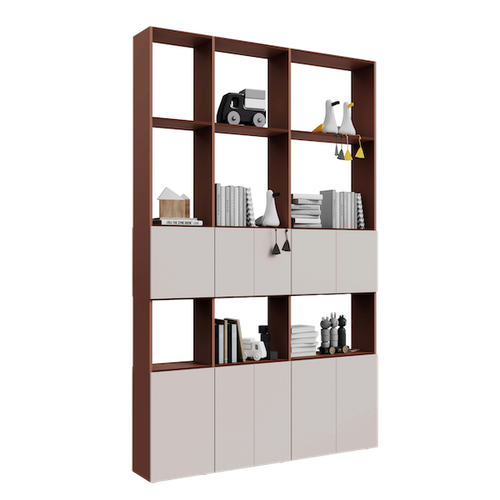
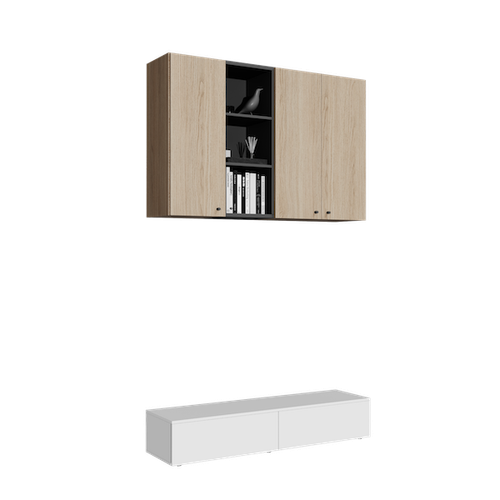
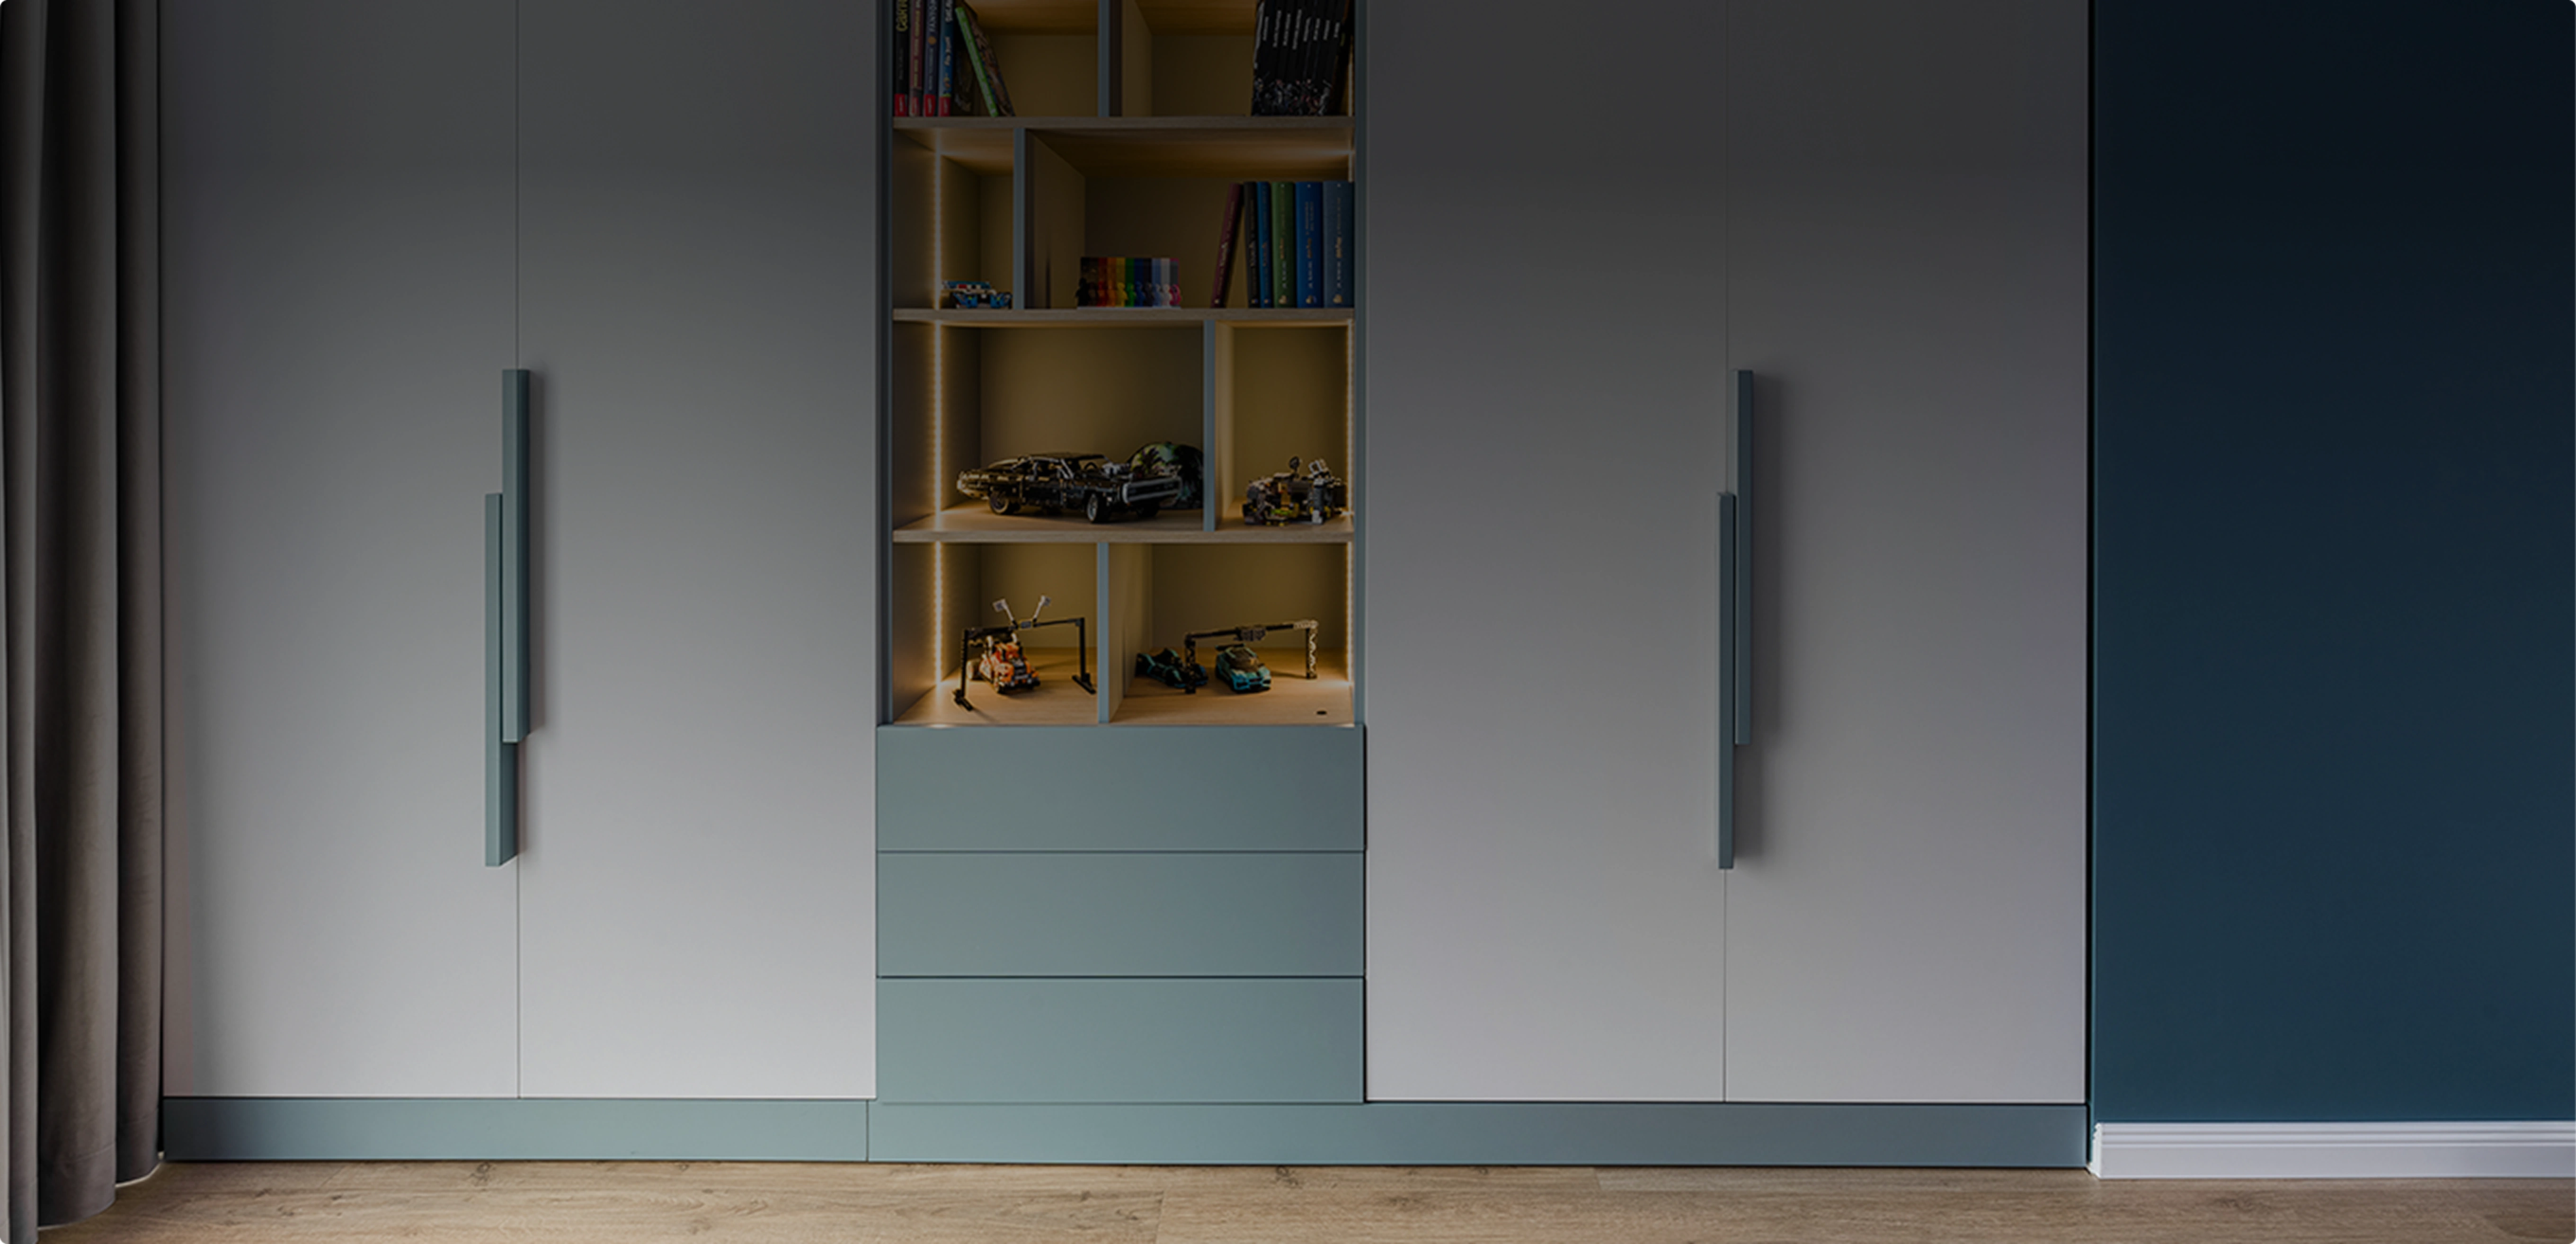
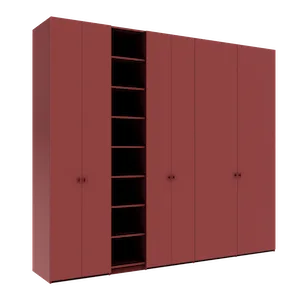
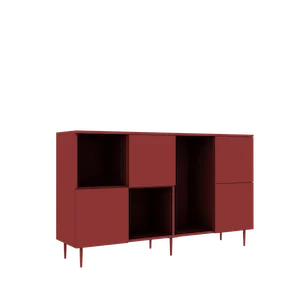
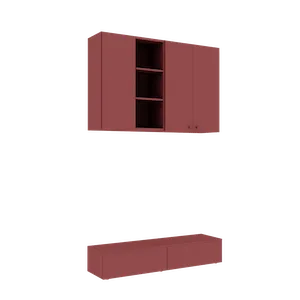
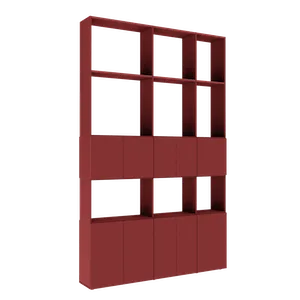
Unlike other visualization tools, the Téchne Room Planner uses real models from the configurator — not generic boxes. Every wardrobe, dresser, or wall unit appears with the exact dimensions, doors, colors, and interior you configured.
Step 1 — Configure the desired furniture
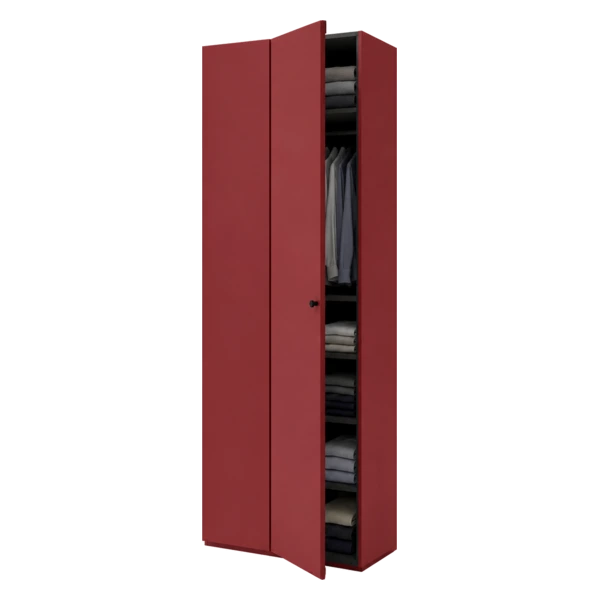
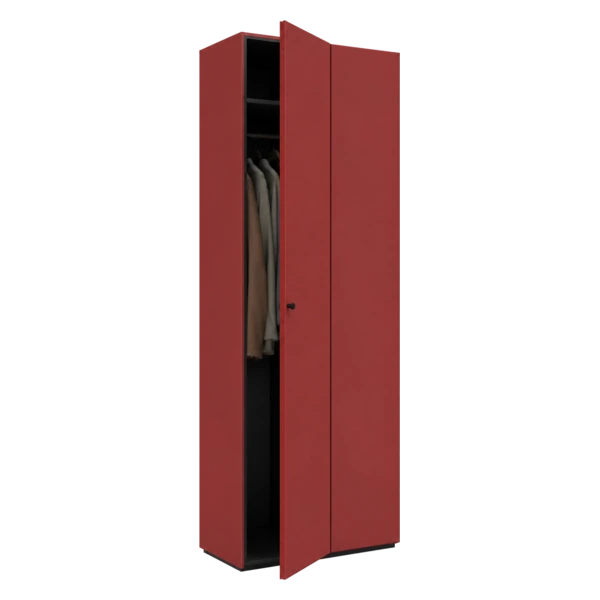
Everything starts in the configurator. Choose your furniture type — wardrobe, dresser, wall-mounted unit, or room divider — and customize every detail: dimensions, colors, doors, interior organization. When satisfied, add the piece to cart.
Configure as many pieces as you want. Each piece added to cart will automatically appear in the Room Planner, ready to be placed in your virtual room.
Step 2 — Open the Room Planner
From the cart, click the "Visualize in room | Room Planner" button. The 3D editor opens with all your pieces available in the side panel. Alternatively, you can access the Room Planner anytime from the site footer.
Define the room
Enter the room dimensions: width, depth, and height in centimeters. For precise measurements, check our measuring guide. Choose one of 4 available floor textures — classic oak, herringbone oak, concrete, or laminate — for the most realistic visual context.
Add structural elements
Mark on the walls the positions of doors, windows, radiators, sockets, and switches. You can also add columns, beams, or air conditioning units. These elements help you avoid sizing mistakes — a wardrobe shouldn't block a socket or radiator.
Step 3 — Place furniture in the room
Drag furniture pieces from the side panel directly onto the room plan, or double-click to add them automatically. Smart snap automatically aligns furniture to walls, corners, and other units for effortless precise arrangement.
Rotate and move pieces until you get the perfect layout. To modify a piece, double-click it — the configurator opens, make your changes, save, and the Room Planner updates instantly.
Step 4 — Visualize and finalize
Switch between 3D view, 2D top-down plan, and per-wall elevations to see the composition from all angles. On mobile, activate the AR (Augmented Reality) feature to project furniture directly into your real room through your phone's camera.
The total price of the composition is visible in real time. When satisfied, add everything to cart directly from the Room Planner and finalize your order. The scene saves automatically, so you can return anytime for adjustments. Need help? Our team guides you through the process for free.