How to configure a wardrobe that goes around a ceiling beam
Learn how to use the Téchne configurator to create a wardrobe that perfectly fits a space with a ceiling beam. Adjustable top panel, shape copying, step by step.
Ceiling beams are one of the most common challenges when you want furniture that fills the space from floor to ceiling. In older buildings, communist-era apartment blocks, or even new constructions with exposed structural beams, the beams partially lower the ceiling and create an irregular space that standard furniture simply cannot cover.
The Problem: Wasted Space Above the Wardrobe
The traditional solution is simple but inefficient: buy a wardrobe that stops below the beam, leaving 20-40 cm of empty space above. This space becomes a dust collector, an impossible-to-clean area and a visual waste that makes the room appear lower than it actually is.
Many standard furniture manufacturers offer no solutions for beams — fixed dimensions don't allow adaptation. The result? Compromise after compromise: smaller wardrobe, wasted space, affected aesthetics.
The Téchne Solution: Adjustable Top Panel and Shape Copying
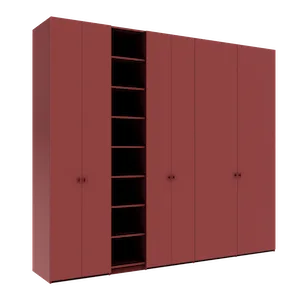
The Téchne configurator solves this problem through a unique feature: the adjustable top panel. Instead of limiting yourself to a wardrobe that stops below the beam, you can pull the top panel down exactly where the beam is located, creating a precise cutout that goes around the obstacle. The configurator automatically validates the dimensions you enter — if a value exceeds structural limits or isn't compatible with the beam, the system alerts you immediately.
How it works, step by step:
- Measure the beam — note the beam's width (how far it extends from the wall), height (how far it drops from the ceiling) and position (distance from the side wall)
- Configure the wardrobe — set the total dimensions (width, height to ceiling, depth) in the configurator
- Adjust the top panel — select the top panel and pull it down in the beam zone. The configurator allows independent adjustment for each column
- Copy the shape — if the beam affects multiple columns, use the shape copy function to replicate the cutout on adjacent columns without redoing it manually
- Verify in 3D — rotate the 3D model and make sure the wardrobe fits perfectly around the beam
Advantages Over Traditional Solutions
- Zero wasted space — the wardrobe reaches the ceiling across its entire surface, except the beam zone where it adapts precisely
- Integrated look — the wardrobe appears to have been built together with the wall, not placed there afterwards
- Maximum storage — unaffected columns reach full height, while affected ones stop exactly below the beam
- No aesthetic compromises — there is no visible empty space between wardrobe and ceiling
Common Beam Scenarios
Central beam (parallel to the wall)
The most frequent situation in 1960s-1980s apartment blocks. The beam crosses the room 60-80 cm from the wall. Solution: back columns reach the ceiling, while front columns have the top panel lowered below the beam.
Beam perpendicular to the wall
The beam protrudes from the wall and lowers the ceiling over a limited portion. Only 1-2 columns are affected. Adjust the top panel only on those columns — the rest reach maximum height.
Partially lowered ceiling (drywall)
In modern renovations, the drywall ceiling can be at different heights in the same room. The configurator allows independent adjustment for each column, adapting to any geometry.
Why You Can't Do This With Standard Furniture
Standard furniture comes in fixed dimensions — 200 cm, 220 cm, 240 cm height. If you have a beam at 235 cm, a 240 cm wardrobe won't fit, and a 220 cm one leaves 15 cm empty. There's no cutout or adaptation option — you have to accept the compromise.
With a configurator precise to the centimeter, this problem completely disappears. Every millimeter of space is utilized, and the wardrobe perfectly adapts to your room's geometry.
Production time is 2-3 weeks, identical to any other configuration — beam adaptation does not extend manufacturing time.
Configure your wardrobe for a space with beams
Practical tips for measuring beams
Before configuring the wardrobe, precise beam measurement is essential. Use a laser measure for maximum accuracy and note the following dimensions:
- Height from floor to beam base — this determines how far the top panel lowers on the affected column
- Beam width — measure how far the beam extends from the wall or how much ceiling surface it covers
- Distance from the side wall — this establishes which wardrobe columns are affected
Photograph the beam from multiple angles and send the pictures to the Téchne team if you need assistance. An important detail: check whether the beam has perfectly square corners or slightly rounded ones — this influences how tightly the top panel can be adjusted. After you finalize the configuration, a human operator manually reviews your order before production begins, ensuring everything is correct.
Furniture types compatible with ceiling beams
The adjustable top panel functionality in the Téchne configurator is not limited to wardrobes. You can adapt other furniture types to beams as well:
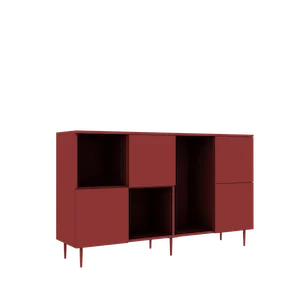
- Tall sideboards — for living rooms with visible decorative beams
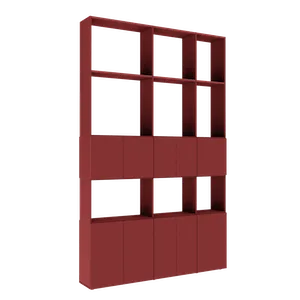
- Room dividers — that reach the ceiling for maximum stability, going around transverse beams
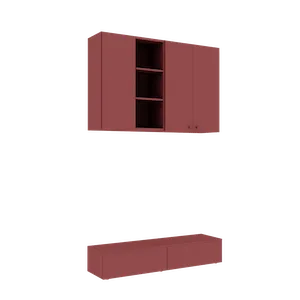
- Hallway cabinets — where beams are frequent in older apartment blocks
Regardless of the furniture type, the principle is the same: measure the beam, configure the top panel on each column independently, and verify the result in 3D.